
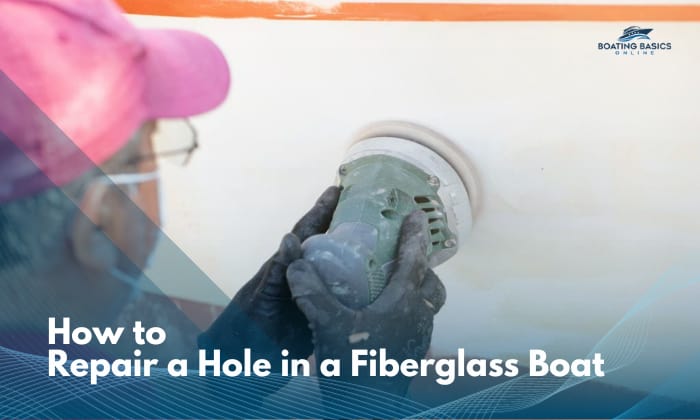
Like cracks and scratches, holes in a fiberglass boat hull are relatively common issues. Learning how to repair a hole in a fiberglass boat involves doing a step-by-step process to ensure complete restoration of the damaged areas.
I’ve developed this guide based on what I learned and applied in the past and up to the present, often to stellar results. You should be able to learn how to repair both small and large holes in your hull.
Table of Contents
Ways to Repair a Hole in a Fiberglass Boat
Whenever you need to patch a fiberglass boat that has a hole problem, the size of the hole mainly dictates the method you need to do and the tools you will need. As such, I’ve prepared two separate guides on how to repair a small hole or a large hole.
They apply to any kind of bottom repair involving holes but not to fiberglass cracks, which require a different method to be solved. I leave it up to you to decide whether the hole is big enough to warrant extra steps and resources.
This highlights the importance of assessing the damage first and foremost. What’s sure is you need to gather more tools and mats if the hole is on the big side.
Repairing a Small Hole
Before doing any kind of boat damage repair, prioritize wearing your safety equipment because you will be doing plenty of sanding and handling curing agents and hardeners.
Tools to Prepare for small holes in fiberglass boat hull:
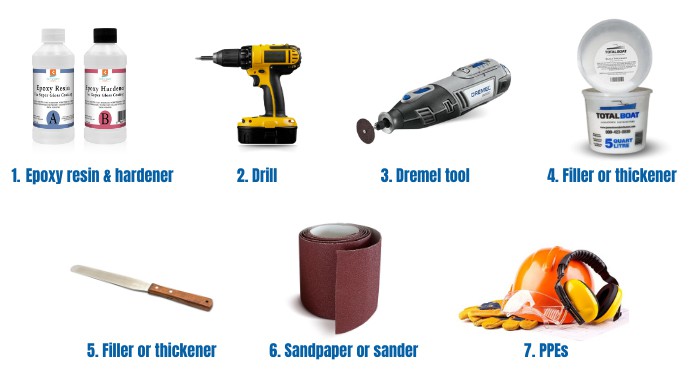
Ready your DIY repair kit by preparing the following.
- Epoxy resin and hardener
- Drill
- Dremel tool
- Filler or thickener
- Spatula for applying epoxy
- Sandpaper or sander
- PPEs (gloves, glasses, respirator, etc.)
Step 1: Get drilling
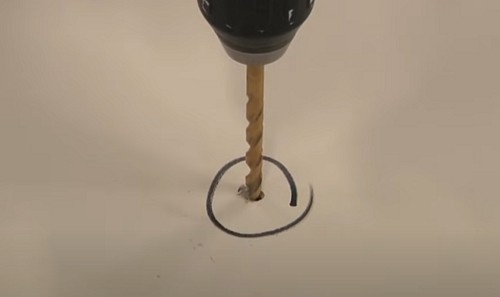
Give all tiny holes a little drill treatment, just enough to expose the fresh fiberglass. This ensures the new repair materials stick like glue to the old fiberglass surface.
Step 2: Smoothen the edges
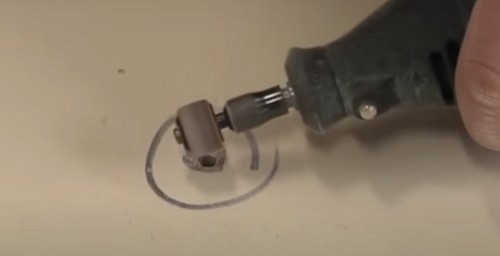
Grab a Dremel tool or any tool that you can use to taper the edges of the hole. Try to create a smooth slope from the hole to the surrounding area. This sets the stage for the epoxy to bond.
Step 3: Start mixing the epoxy then apply it
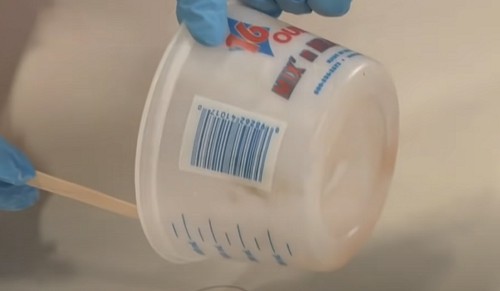
First, clean up the sufface with acetone. Getting the epoxy mixture right along with the additive. What’s important is for the epoxy to gain enough “muscle” to stick to the repair zone well.
Slather the epoxy using the spatula or any tool that you can use to smear it right into the hole. Don’t be worried if it overflows a bit. Epoxy tends to find its own level and overfilling ensures that the repair is flush with the surrounding area once it cures.
Step 4: Let the epoxy cure then start sanding

The time it takes to cure will depend on the product, and the manufacturer will most likely reveal the exact time. Once it’s rock solid, whip out the sandpaper and start with the roughest portions first then work your way to the smoother sides for a slick finish.
Once you get the finish you want, it’s time for some priming and painting. Again, these steps should fix a fiberglass boat with more minor-sized holes. If it’s a more sizable hole, then you will have to be ready for some elbow grease.
Fixing a Large Hole
Now you may be wondering, what counts as a “large hole” in the first place? The rule of thumb is if it’s around ¾-inch wide and thick. Structural fiberglass repair should always be approached with the thinking that you need to add as many reinforcements as needed.
What to prepare
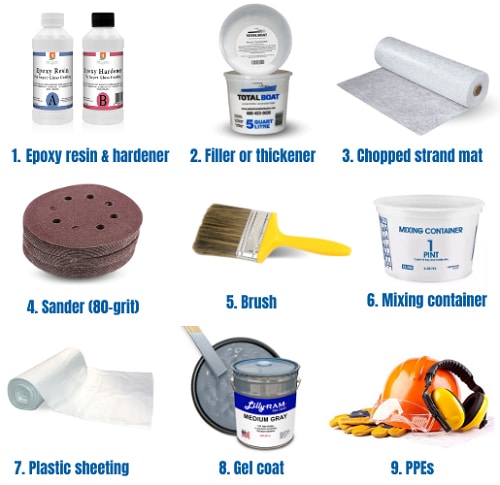
- Epoxy resin
- Filler for epoxy
- Chopped strand mat
- Sandpaper or sander (80-grit)
- Brush or roller
- Mixing container
- Plastic sheeting
- Gel coat
- PPEs
Step 1: Taper the hole’s edges
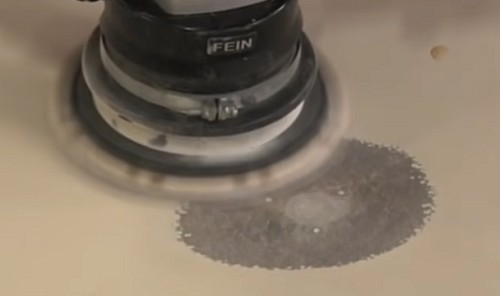
Sand a taper on the top surface around the hole. This will create the necessary gradual transition from the hole to the surrounding fiberglass. This also promotes better adhesion.
Step 2: Fill the hole with the epoxy mixture
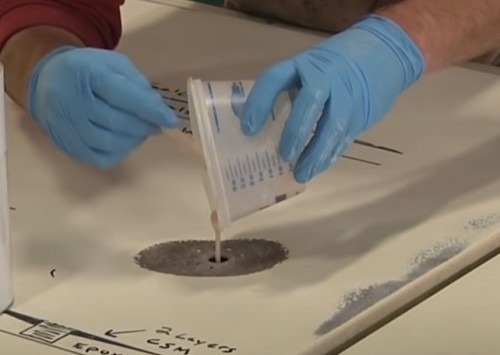
Be sure to wipe the work area down with some acetone. Then, mix the epoxy resin and hardener. Add a suitable filler to reinforce it.
Afterward, fill the hole with the epoxy mix, ensuring thorough coverage and that the hole is filled completely.
Step 3: Allow the epoxy to partially cure then add layers of CSM
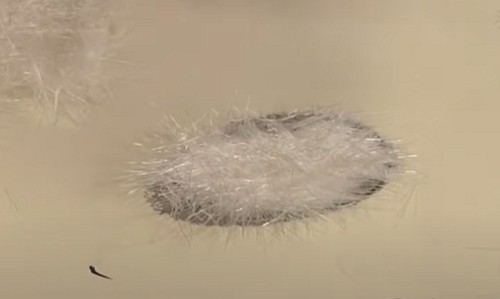
Epoxy should gel together to create a tacky surface. This enhances the bonding of other reinforcing layers you’re going to create.
Once it has partially cured, you can sand it again and wipe it down with acetone again. Then, apply two layers of chopped strand mat over it. You can just tear the CSM that will fit the hole – no need to cut.
Make sure that each layer is slightly bigger than the original hole and the previous layer of CSM. Saturate each layer of CSM with epoxy by tapping it with a brush. Give each one time to partially cure before adding the next layer.
Step 4: Do the final sanding and finishing
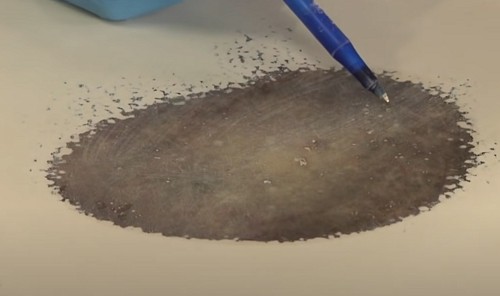
Done with all the CSM layers? All you need to do is to sand the surface flush and smooth. You can use grits finer than 80-grit to achieve the smoothness level you want and for the repaired area to blend with the entire hull’s surface.
Top everything off with a gel coat of your choosing.
Conclusion
If we summarize my guide on how to repair a hole in a fiberglass boat, the techniques are fairly easy to follow. However, I can’t stress enough the need to follow each step exactly as it is written.
Learning how to get the right epoxy mix, applying it, creating layers of CSM, and getting the correct curing (complete or partial) are but some of the most important points you should keep in mind. Here’s to excellent repair results, fellow boater!

“My intention from the first day establishing Boating Basics Online is to provide as much help as possible for boaters who want to experience a first safe and convenient trip. So feel free to join us and share your beautiful journeys to the sea!”