It’s crucial to check the transom of your fiberglass boat from time to time. Once you find soft spots, they call for the execution of the steps on how to reinforce a fiberglass boat transom.
You’ll need fiberglass, epoxy, wood, and paint for this project. Expect that it will occupy you for the whole week and you need a week for the gel coat and paint to dry. It can get messy with the chances of inhaling toxic fumes but you can avoid undesirable circumstances if you know the proper ways. Thus, it’s worthwhile to read this whole article.
Table of Contents
Outboard Motor on Fiberglass Boat Relies on the Transom
The boat’s transom carries the substantial weight of an outboard motor. It even increases when the vessel accelerates or bounces on the trailer. At the same time, the fiberglass skin and core where the mounting takes place bear this weight.
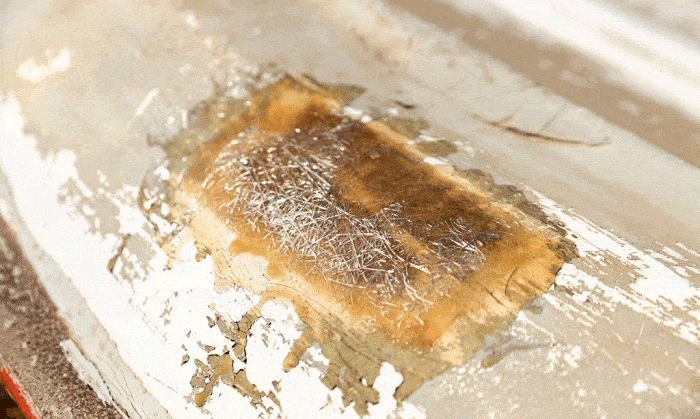
This area continues to take in the weight until the time that cracks appear. Subsequently, moisture gets into the plywood core to cause rotting. This moisture can even reach the transom skin at hardware fasteners. A structural failure will surprise you when these things happen to your boat.
The transom will let go of the motor once it loses its stiffness. Every boat owner should watch out for it. You’ll need to reinforce a boat transom when the motor does a lot of movements.
Use a hard object in tapping the suspected sections. The void under the surface gives a dull sound, which is the sign to replace the transom. To be sure that there’s delamination, you may drill 5mm-diameter inspection holes.
After taking this action, the drill’s tip will show you a sign of decay if there’s any. The other way to check is to squeeze the core material; it’s bad news if it’s wet as you have to reinforce the fiberglass transom.
Step-by-step Guide in Reinforcing Fiberglass Boat Transom
Step 1: Things that you need to do before removal of the damaged transom
Before dismantling damaged parts, you have to take measurements of the parts around the transom. You have to jot down the exterior skin of fiberglass thickness, interior skin thickness, the location and thickness of stringer, and more. Keep the records for later reference.
When removing the parts, you should put reliable support to the hull first. A bunk trailer and some blocks are great paraphernalia, and you must place them under the keel and transom. If you don’t do it, deformation can occur when taking off a stringer or transom.
Step 2: Getting into the transom and core
It’s time to get rid of the rot! The proper way to do it varies from boat to boat. In some instances, there’s a need to cut the top cap, deck, or sidewalls. Depending on the boat, you’ll need to cut all these parts. Some boat owners may need to remove the cap to be able to access the inside of the transom.
When completely discarding the old plywood core, you need a reciprocating saw, hammer, chisel, grinder, and flat pry bar. Owning an air compressor goes well with a small air hammer with a large, flat blade. In doing this step, you have to be careful not to mess up the outer fiberglass skin.
You can start making a transom template after you completely remove the old plywood and putty. The template can be in the form of wood, cardboard, and door skin. It’s the guide in cutting the transom core and wide pieces of fiberglass which will occupy between the new wood and outer layer.
Step 3: New core installation
The new core should have a similar thickness to the original plywood. The thickness can be half an inch, 5/8 inches, or ¾ inches. But if you’re making changes, adjustments on the core thickness are necessary.
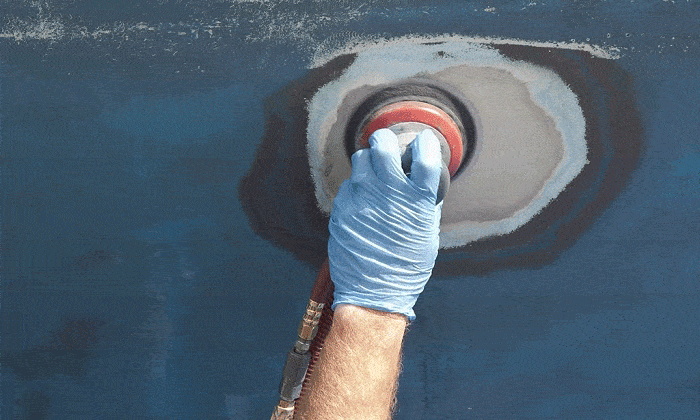
There are two ways to accomplish boat transom reinforcement. The first one is doing it layer to layer. In this method, you need a palm sander to rough up the interior section of the fiberglass transom. This process is done on the edges of the first layer of marine plywood too.
To cover the void inside, mix the two-part epoxy for a thin coating. You have to apply it to the entire surface of the plywood. You can finish quickly with a paint roller. Smear a generous amount of epoxy on the bottom and the sides of the boat hull. Put another sheet of plywood behind the splash well.
Also, you have to remove any excess amount of epoxy. Do the same thing with the other pieces of plywood. Wood screws will make the plywood sheets fit snugly while they’re all bound with epoxy.
The second method of core installation is laminating the plywood before mounting it to the designated place. Some may find it convenient as they can directly attach it to the hull. In plywood lamination, you’ll need an un-thickened epoxy. It’s the ideal substance because the wood can absorb it.
While the epoxy is still tacky on the plywood, take time to mix the epoxy glue. Don’t mix your epoxy when you’re not ready to use it. A caulking gun can help you to come up with beads of similar size when spreading the epoxy.
When the right time comes, apply the glue evenly on the plywood with a notch spreader. Then, you have to put the pieces of wood together with a clamp. You may need weights to press them and drywall screws which are removed when the glue is cured.
There’s no need to put excessive pressure when clamping the wood as epoxy is efficient in gap-filling. It’s strong and you can expect it to stay between plywood sheets. If you see that the substance starts to squeeze out, you have to stop clamping and wipe off the excess amount.
Step 4: Refining your work
Fill the gaps in the hull’s bottom and sides as well as the ones on the new core. After tending the gaps, use the same putty to create a fillet that surrounds the joint between the hull and the core.
A fillet is the radius of the putty that enables the fiberglass to turn into an angle. Note that fiberglass doesn’t get along well with 90 degrees. The inside corners must have a round fillet to not worry about issues.
Step 5: Tabbing
Lastly, you need to tab the core to the hull’s sides and bottom. The fiberglass cloth tape is the ideal supply for this job because it’s tougher than the traditional type. It’s the recommended choice as it’s compatible with epoxy, easy to work with, and uncomplicated to wet out.
The amount of fiberglass tape will depend on your boat but you’ll surely use multiple layers. The glass tabbing and fillet making can be completed in one session for excellent results and quality lamination!
Doing these two things is termed as ‘wet on wet’. Aside from awesome effects, you don’t need to sand and grind between plywood sheets. You’ll only need to be attentive when the putty gets too thick as it encourages heat build-up.
Takeaway
It’s a must to look after your boat as it’s an expensive investment. I hope this guide on how to reinforce a fiberglass boat transom will help you immensely in the future. Share this article to help others and you may leave a comment to share your experience. It’s great when boat owners help each other in taking care of their vessels!

“My intention from the first day establishing Boating Basics Online is to provide as much help as possible for boaters who want to experience a first safe and convenient trip. So feel free to join us and share your beautiful journeys to the sea!”


